Learning Objectives
By the end of this workshop staff will:
- Be able to assist users/students with printing problems

By the end of this workshop staff will:
|
|
|
Dealing with Student queries:Tech Support:
|
|
Students can top up money to their CAPS (Copy and Print Service) balance at:
Autoloader can take coins and notes to add money to copy and print balance
ePOS stations can take eftpos and credit card to add money to copy and print balance
Please note: the student must have their ID card in order to top up. No ID card, no top up.
Students cannot top up without a University ID card.
Click to download the file |
|
Students may request your help with printing credits or printing refunds. There are different reasons for giving a credit or a refund.
If a student comes to the helpdesk and reports that their document was not printed, partially printed, or had ink marks then you need to:
1) Check the printer for paper jam, toner replacement or paper restock. If it is one of these issues then you will be able to fix it and the printer may continue printing. If the issue persists and the printer does not continue printing then,
2) Explain the student about filling out a credit form and,
3) Direct the student to fill out the form.
Please note: If there is some other maintenance issue then you will have to put an Out Of Order sign on the printer and log a job. You will also direct the student to fill out the credit form.
A print refund is given to a student who is graduating from the university and wishes to get their remaining cash balance refunded to them.
1) Ask if they are graduating and,
2) Direct them to fill out the form.
Please note: Only funds that the graduating student has added to their printing account are ever refunded. Departmental print allocations are non-refundable and have an expiry date
A genuine request is one where the copier or printer is at fault and not the student, e.g.,
A non-genuine refund request is one where the student is at fault and not the copier or printer. Most frequent student errors fall into the following categories. Check to see the student is not making the following mistakes:
Click on the following links to access the relevant forms:
Below are the steps to follow for filling out either form.
First, enter the University email address for whom the credit / refund is for:

Then, if you have already ascertained that the request is genuine, close the pop up by pressing continue.

Finally, fill out the starred fields in the form and include any additional information in the comments section. Submit the request by pressing continue.

Once the credit or refund form is submitted, it will be automatically be sent to the SSC (Staff Service Center), who will verify that the correct information has been added and escalate the ticket to Level 2 Service Operations.
Level 2 will investigate to verify whether the request for a credit is authentic and will provide the credit.
If the request is for a graduating student print refund, ITS L2 Service Operations will send the request to ITS/Central Finance who will issue the refund to the student’s bank account. Please NOTE: Only New Zealand bank accounts can be used to accept a print refund. No international bank accounts can be used.
Please do not give students a specific time frame for how long the refund or credit will take as the time it takes can range from next day to several weeks and is processed by multiple departments.
To retrieve your scanned document, you will have to log in to your student email or University of Auckland staff email account. Your document will be sent to you in PDF format as a link to download.
Note : You can only download or view your document ONCE . Please ensure that you download and SAVE your document correctly.
|
Scanning Instructions Video created by the Information Commons Team
Download the video file
[59.1 MB]
|
|
|
|
Clearing a paper jamWhen a printer displays that it has a paper jam, the jammed paper needs to be manually removed.
Please note : Be careful when clearing paper jams because certain parts of the machine can get hot enough to burn. |
|
|
How to remove paper jams Video created by the Information Commons Team
Download the video file
[39.8 MB]
|
When a printer needs its paper trays restocked, it will show as an error.

|
How to add paper Video created by the Information Commons Team
Download the video file
[33.9 MB]
|
|
|
|
Changing the TonerWhen do you change a toner? The display panel will have a have a red light and the message “Add toner” How do you change the toner?
Please note: It is very important to ensure that the toner bottle type that goes into the machine is the same as the toner bottle that comes out of the machine. |
|
|
|
Students are able to print from their personal devices in addition to the university computers.
Printing from personal devices require the installation of a printer driver.
Printer drivers and instructions on how to install them can be accessed from the IT Essentials page
If students experience difficulties in printing from their own devices, please refer them to the KEIC Level 2 Helpdesk.

|
||
|
Overview of the Wireless Network at the University
Followed the above instructions but still can't figure things out? |
||
The University of Auckland wireless network is available in the City, Grafton, Epsom, New Market and Tāmaki campuses. It is also available at several remote sites where students visit to perform their practical work. To use the wireless network you must be within range of a wireless access point (WAP) and have a wireless capable device.
The University of Auckland maintains two Wireless Networks that are accessible by its students and staff, and a third for international students and scholars visiting from other partner Universities:

UoA-WiFi
UoA-Guest-WiFi
Eduroam
It is recommended that students connect to the internet via UoA-WiFi. However, UoA-Guest-WiFi is an open network, and hence easier to connect to. However, it is less secure than UoA-WiFi.
Test your knowledge of the essential Auckland University settings listed above.
What do you need to connect to the WiFi?
To set up the WiFi on Windows, Mac or Linux, click on the relevant box below to see the instructions.
|
|
To set up the WiFi on Android devices or iPad/iPhone/iPod, click on the relevant box below to see the instructions.
|
|
For a list of generic settings for devices connecting to UoA-WiFi using inbuilt wireless configuration service, follow these instructions:
Before moving on to the advanced troubleshooting, make sure that the following steps have been verified
Laptops have Wi-Fi built-in, allowing students to connect to the Internet. Ensure that the Wi-Fi is enabled.
Depending on the laptop, Wi-Fi can be enabled using Wi-Fi Button, switch or the Function keys.
Only University Staff members and enrolled students have access to the University Wi-Fi. Ensure that the User is enrolled at the University.
For a general guideline on when the access to online and electronic resources is activated or revoked please check this link .
The recommended Wi-Fi for the University of Auckland students and staff is the UoA-WiFi. Ensure that the user is attempting to connect to the UoA-WiFi.
You can find a complete list of Wi-Fi networks on the University Website .
Please note:
To avoid liability/damaging a user's equipment, it is recommended that you advise the user that these steps have been recommended by various web pages and then leave the choice to the user. If they give you permission then go ahead and try these solutions
The following solutions are tailored for Windows 10 only but can be adapted to other Windows versions.
The UoA-WiFi does not appear in the list of Networks available.
This issue is related to a problem with the Network Adapters. Update the Network Adapter software.
How to add the Network Adapter :
Limited Connectivity means that the Network Adapter is set to turn off to save energy.
Un-tick the option " Allow the computer to turn off this device to save power "
How to disable the energy save option
|
|
The UoA-Wifi shows that it is connected, but the student is unable to access the internet.
Ensure that these automatic options are selected:
LAN settings
|
|
TCP/IP and DNS settings
|
|
If a user's phone is connected to the Bluetooth and acting as a WiFi hotspot, then their laptop will not connect to the UoA-WiFi.
To turn off Bluetooth on the phone:
To disable the phone's WiFi hotspot feature
The UoA-Wifi shows that it is connected, but the student is unable to access the internet.
The most common solution in fixing Mac WiFi connectivity issues on the UoA-WiFi network is to "refresh" the DNS servers for UoA-WiFi.
Move the horizontal scroll bar at the bottom of the page to navigate through the flowchart.
|
|
1. Direct them to the university homepage (www.auckland.ac.nz) > Students > Change my password
|
|
2. Under the heading "Change your existing password" click on the link
|
|
1. Direct them to the university homepage (www.auckland.ac.nz) > Students > Change my password
|
|
2. Under the heading "Reset your password" click on the link
|
|
If a student is unable to change or reset the password online then ask them to,
1) Go to the Student Information Centre (Level 1, Clocktower);
2) Call 0800 61 62 63;
3) If they have an ID Card then the password can be reset at one of the IC Helpdesks.
If a staff member is unable to change or reset the password online then ask them to,
1) Contact Staff Service Center on (09) 923 6000
|
|
Objective: LLS staff can assist students to navigate from the University homepage to information about changing their passwords.
INSTRUCTIONS: Fill in the blanks by choosing the correct words.
Objective: LLS staff can assist students to search the internet for information on changing and/or resetting their passwords.
INSTRUCTIONS: Drag & drop the words to their correct place to complete the sentences.
Objective: LLS staff can assist students and other UoA staff who want to reset their passwords via phone call.
INSTRUCTIONS: Fill in the blanks by choosing the correct words.
|
|
|
|
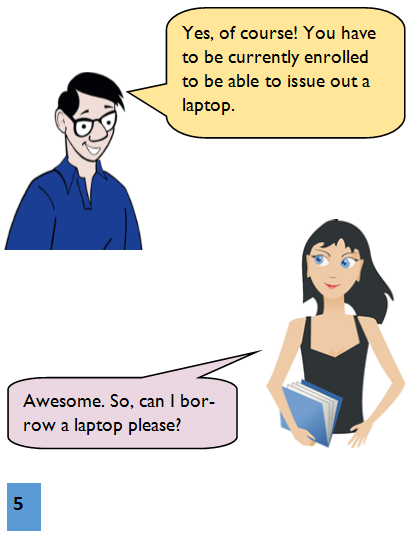
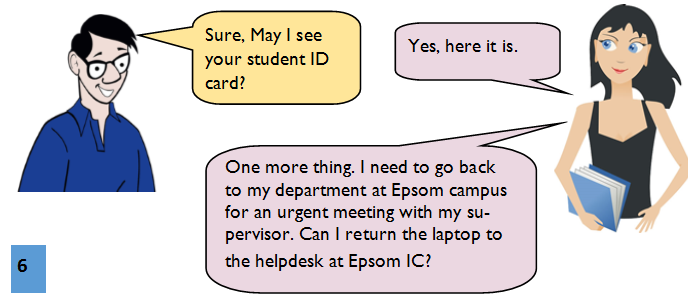
Laptops can be borrowed from the IC Helpdesk free of charge. Students must have their University ID card on them to be able to borrow IC laptops |
|
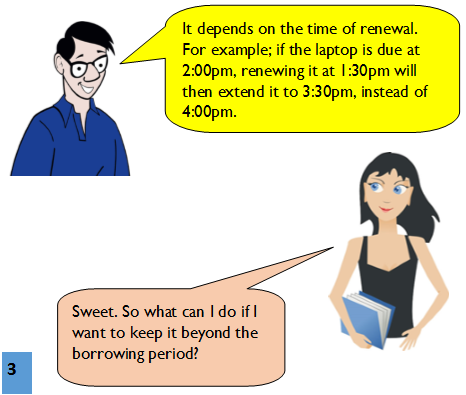
To renew laptop online
1) Go to http://www.library.auckland.ac.nz/ and click on 'My Library Account' on the top right-hand corner of the page.
|
|
2) After logging in check both the laptop and the charger and click on 'Renew Selected' or 'Renew all' if those are the only two items that the student has out on loan.
|
|
3) After the renewal check if the 'Due Hour'reflects the new time. If not, the student must immediately bring the laptop and charger to the IC Helpdesk to avoid incurring fines for late return.
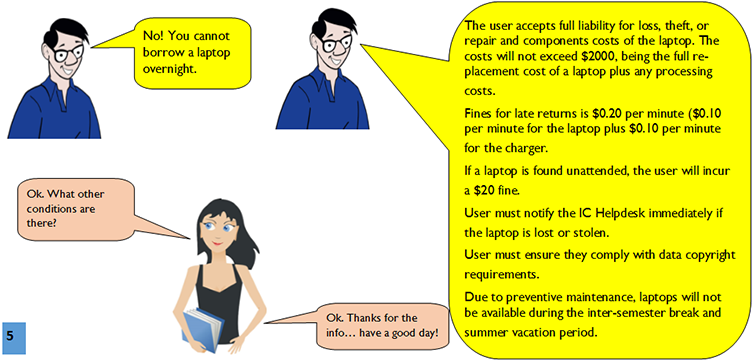
- Fines for late returns will be charged at the rate of $0.20 per minute ($0.10 per minute for the laptop plus $0.10 per minute for the charger)
- Students must not leave the laptop unattended or give it to other students to return. The student will incur $20 fine for unattended IC laptops.
- Students can pay off laptop fines at the IC Helpdesk
- Students must have their UoA ID cards in order to borrow IC laptops
- The student accepts full liability for loss, theft or repair and component costs of the laptop. The costs will not exceed $2000, being the full replacement cost of a laptop plus any processing costs
- If the laptop is lost or stolen, the student must immediately notify the IC Helpdesk.
- Students cannot use or install licensed, unlicensed, malicious or gaming software.
- Students must not leave the laptop unattended or give it to other students to return. The student will incur $20 fine for unattended IC laptops.
|
|
|
|
|
|
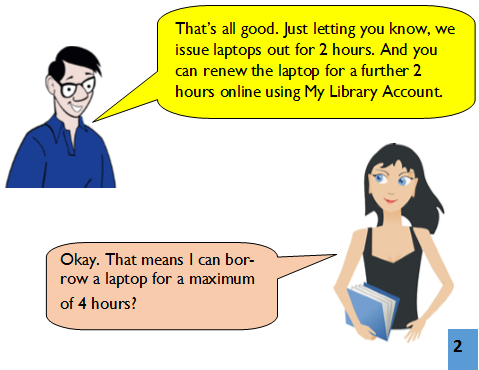
What is the loan period for IC Laptops?
How many renewals are allowed for IC laptops?
|
|
Scenario 1 – Borrowing laptops:
“Lisa is an undergraduate student of the Faculty of Education at the Epsom campus.
She visited the general library in the City campus to find a book that she needs to complete her assignment.
After borrowing the book, she walked through all computer labs at the KEIC to find a computer but realised all computers are all fully booked and occupied.
Then she visited the IC help desk at KEIC looking for a laptop to hire to carry on her assignment.
Tim is the Desk Assistant working at the IC helpdesk today”.

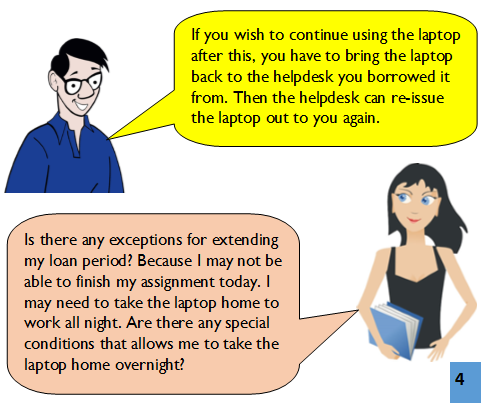
Scenario 2 – Conditions of Borrowing Laptops:
“Tim is the Desk Assistant working at the IC Helpdesk at the Kate Edger Information Commons (KEIC).
He was issuing out a laptop for a new student, Lisa, who visited the IC helpdesk in the City campus.
Tim realises that Lisa hasn’t borrowed a laptop from the helpdesk before.
Lisa may need to use the laptop for a longer duration.
Therefore, Tim thought of informing Lisa a few important rules & conditions about borrowing a laptop to avoid later disappointments”.

Mobile scanning applications available on smartphones allow users to scan documents easily, often with just one click/swipe on the device. Two of the most popular and fully featured scanner apps are:
Please note: The University of Auckland does not promote any particular scanning application and those that are detailed here have been peer reviewed as some of the best and are generally free
The Google Drive application for Android allows you to scan documents easily. Some key features include:
- Organise snapshots or photos of documents and then convert them to PDF later from another device

- Scans are saved both on your device and in your Google Drive account
- Optical Character Recognition (OCR) of documents and images
CamScanner is available for free (and freemium) for Android, iOS, and Windows Phone. CamScanner scans any document to PDF directly and performs OCR (Optical character recognition) to lift out important information. Some key features include:

|
Mobile Scanning Application |
Google Drive |
CamScanner |
|
Platform |
iOS/Android for mobile scanning and all other major O/S & platforms for application |
iOS/Android/Windows Phone |
|
Available on |
For iOS on the App Store and for Android on the Google Play Store |
For iOS on the App Store and for Android on the Google Play Store |
|
Cost |
Free |
Free (freemium) otherwise $4.99 USD per month or $49.99 per year for extra options like cloud storage/enterprise collaboration integration |
|
Core functionality |
Colour/B&W scanning, OCR, PDF, Google account integration, simplicity as already built into the Google Drive application, auto-syncing to other devices, can take snapshots and convert to PDF from other devices at a later time |
Colour/B&W scanning, OCR, Scans to PDF directly, multi-page/batch scanning support, auto-crop and auto-enhance, annotate documents/scans, integrated save to other cloud storage services like DropBox, Box, and Google Drive |
|
Set- up |
Uses Google Account |
Can create account within the application for cloud storage options |
|
Program updates |
Via App Store |
Via App Store |
|
Storage capacity |
Based on storage limits of Google Account and physical storage on device |
Freemium version has 200 MB of cloud storage. Subscription version has 10 GB. Based on storage limits on device |
|
Sharing Options |
Uses Google Account. Can send via email or other Google application and device. Contains all sharing/collaboration functionality of the standard Google application |
Can share via Box, Dropbox, email, and Google Drive and device. A standard account allows collaboration with up to 10 users. Subscription account allows collaboration with up to 50 users |
1) Sign into your student email account .
2) Click the gear icon in the upper right-hand corner, and then select Settings:

3) Click the Forwarding and POP/IMAP tab.
Note: The following image includes notes for steps 3-7

4) Click the Add a forwarding address button and enter your new forwarding email address.
5) A verification email will be sent to your forwarding email address, open up the verification email and click the confirmation link.
6) Return to your student email account settings, then click Forwarding and POP/IMAP, select Forward a copy of incoming mail to, select the verified email address.
Note: you may need to reopen your student email for the email verification confirmation to come through.
7) Click Save Changes.
Important notes:
1) Log into Student Services Online: http://www.studentservices.auckland.ac.nz/en.html
2) Click Update on the top right:

3) Click on the “Email & Phone” tab
4) Click on “Add/update email address”
5) This window will show up:

6) From the window above you are able to change the order of priority for which email address you want The University of Auckland to send official University emails to by clicking the arrows.
7) It is possible to add a personal email address such as the @hotmail.com one above by typing it into the text boxes, this email can receive other email communication outside of official University email such as overdue books, requests for additional admission information etc.
Important notes:
There is more information about student email solutions here: http://www.library.auckland.ac.nz/services/it-essentials/email
The Staff Service Centre (SSC) is the central call centre for the University of Auckland Faculty/Staff/PhD students. It is not outsourced and is made up of professional staff employed by the University. It is a “one-stop shop” for University of Auckland staff to contact and have requests and incidents created to resolve issues they are having at work.
The SSC has a relatively broad scope and connects with many stakeholders across the University; such as ITS and Property Services for example. The eventual goal is for all requests and incidents, whether IT, maintenance, or building related to being centralised and channelled through the SSC as the level 1 support.
If the SSC cannot resolve the issue in the first instance, they will escalate it to the proper team(s) who can. Many issues can be resolved in the first contact and that is the goal but many are escalated.
The SSC is primarily used by Faculty, Staff, and PhD students of the University. PhD students are considered quasi-staff. As a general rule, the SSC is not to be used by undergraduate or post-graduate students as they have other support structures in place.
The ideal goal of the SSC, as previously stated, is to the first “one-stop shop” for requests and incidents for University staff. The eventual goal is for all requests and incidents, regardless of the type to be directed to the SSC. These would include IT related requests and incidents as well as building/ maintenance requests and incidents.
There are three primary ways to contact the SSC:
Operating hours for phone calls are Monday-Friday 7:30 A.M. to 6:00 P.M.
The Staff Service Centre’s opening hours are Monday to Friday 7.30am-6pm, however, requests can be submitted online at any time. If the enquiry is urgent please call the Staff Service Centre on EXT 86000.
• Any queries that cannot be answered straight away will be referred to the appropriate service provider and monitored to ensure a timely response and resolution.
• Email enquiries or web requests submitted outside of the opening hours will be handled the next business day.
Try this interactive game based on the classic Gone Fishin'. There are thirteen total questions, each one revealing information about what kinds of issues should go to the Staff Service Centre. This requires Microsoft PowerPoint and is self guided, Please start the slide show to interact with the game and we hope you enjoy it.
|
Software available |
Software information |
Software purchase/download |
Software cost |
Software help and support |
|
EndNote |
> EndNote
|
> Installation CDs can be purchased from the Information Commons |
$60.00
|
|
|
Microsoft Student Advantage - Office 365 |
|
FREE |
Troubleshooting Office 365 install Note: The University of Auckland does not provide support for Office 365 |
|
|
FREE
|
|
|||
|
|
|
FREE |
||
|
|
|
|
FREE |
|
|
|
> IBM SPSS Statistics and Amos
|
|
$89.00 |
Staff Service Centre (x86000) |
|
Minitab Express |
English ONLY |
FREE – 30-day trial $42.84 (6 months) $71.41 (12 months) |
Select Minitab |
|
|
Minitab 17
|
Multilanguage
|
|
$42.84 (6 months) $71.41 (12 months) Free (30-day trial |
Select Minitab
|
Objective: LLS staff can assist students to navigate from the University homepage to information about work at home software.
How to assist students to find information about Work at Home software for students via the UoA website.
Click on the video below for step-by-step instructions.
|
Download the mp4 file
[3.0 MB]
|
Objective: LLS staff can assist students to search the internet for information about work at home software.
How to assist students to find information about Work at Home software for students via Internet Search.
Click on the video below for step-by-step instructions.
|
Download the mp4 file
[1.7 MB]
|
|
Software available |
Software information |
Software purchase/download |
Software cost |
Software help and support |
|
Windows Operating System |
|
$14.00 |
Troubleshooting Office 365 install Staff Service Centre (x86000) |
|
|
Microsoft Office |
> Microsoft Operating System and Office
|
$14.00 |
Staff Service Centre (x86000) |
|
|
Adobe Creative Cloud
|
> Adobe Enterprise Site Licence
|
$14.00 |
Staff Service Centre (x86000) |
|
|
IBM SPSS Statistics & Amos |
|
$15.00 |
Staff Service Centre (x86000) |
|
|
SAS
|
> SAS License and read and follow the instructions
|
|
FREE
|
Staff Service Centre (x86000) |
|
Endnote
|
|
> EndNote OR Installation CDs can be purchased from the Information Commons: Kate Edger, Grafton, Epsom and Tamaki. |
FREE OR $60.00
|
Staff Service Centre (x86000) OR
|
|
Nvivo
|
|
|
FREE |
Staff Service Centre (x86000) |
Objective: LLS staff can assist other university staff to navigate from the University homepage to information about work at home software for staff.
How to assist staff to locate information about Work at Home software for Staff via UoA website?
Click on the video below for step-by-step instructions.
|
Download the mp4 file
[7.8 MB]
|
Instructions: Select the correct answer(s) for each multi-choice question.
H: (echome) drive |
||
|
The University provides file storage (backed up) which is accessible on all University computers. Off-campus access is also available. The use of file storage is subject to the terms and conditions as described in relevant IT Policies . On-campus access
Off-campus access
|
||
|
All enrolled students are provided with a free unlimited Google Drive , which is retained perpetually, ie, even when no longer a student at the University. The username for a student Google Drive is (username)@aucklanduni.ac.nz. |
||
|
The Web DropOff Box allows easy sharing of executables and/or large files which would be difficult to transfer via e-mail. |
||
|
All enrolled students are provided with free unlimited Google Drive storage , retained even when they are no longer at the University. Students can access Google Drive from University computer labs through Kumo (Windows computers only). Kumo is like a one-stop shop for all your cloud-based storage drives. It allows you to have all your personal and university storage drives at one single place on the University computers. This removes risks associated with using a USB drive to transport your files and allows better use of your University Google Drive. Kumo is available in most University computer labs and Information Common computers, so when you log into your cloud storage, it is available as a mapped network drive in Windows Explorer. You need to select and authorise your cloud storage accounts before they will be available in Kumo. Authorising cloud storage through Kumo 1) To install Kumo at your University computer, go to https://kumo.auckland.ac.nz/ and log in using your University username and password
Once all selected drives have synced, they should appear as separate drives on your computer.
|
||

 2) Next, select the drive(s) you wish to sync by clicking on the downward arrow on the right-hand corner and click on “Authorize”.
