|
|
E-skills for Libraries and Learning Services E-skills |
|
|
")
|

Working with images
Digital vs. printed
What kind of image file you use will be determined by your medium:
- Digital media (CourseBuilder, other website, PowerPoint presentastion),
- Office printing (handouts, flyers)
- Professional printing
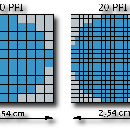
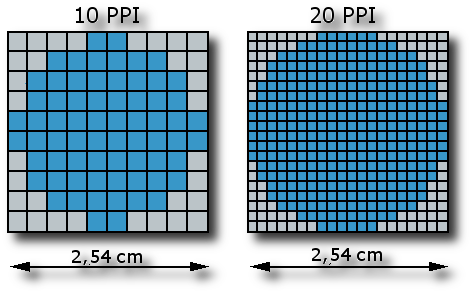
Why the difference? Because of resolution.
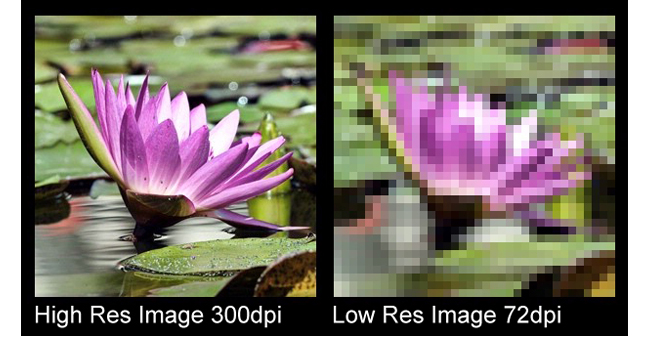
Resolution determines the quality of an image. It is expressed in dpi (Dots Per Inch). The higher the image resolution, the sharper the image. Also, higher resolution means larger file size.
NEVER try to increase resolution on an image (e.g. change 72dpi to 300dpi). This will make the image tiny and destroy image quality. Find an alternative hi-res image instead.
Web/office/MS Office = 72dpi Professional print = 300dpi or more |
|
DPI/PPI |
High and low resolution |

File types and their uses
| File format | Picture type | Use for | Required resolution | Editing software |
| JPEG | Photos | Digital/Office print | 72dpi | Any |
| GIF |
| Digital/Office print. | 72dpi | Any |
| PNG |
| Digital/Office print. | 72dpi | Any |
| TIFF |
| Professional printing. | minimum 300dpi | Photoshop |
| EPS |
| Professional printing. | varies | Photoshop Illustrator |
| AI | Adobe Illustator file. | Do not use - save in another format. | Illustrator | |
| PSD | Adobe Photoshop file. | Do not use - save in another format. | Photoshop | |
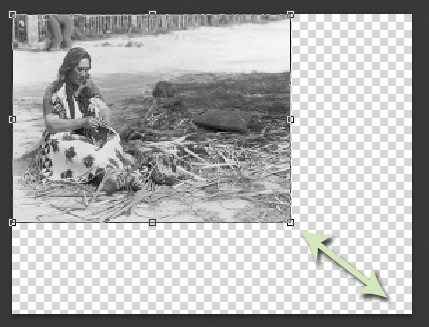
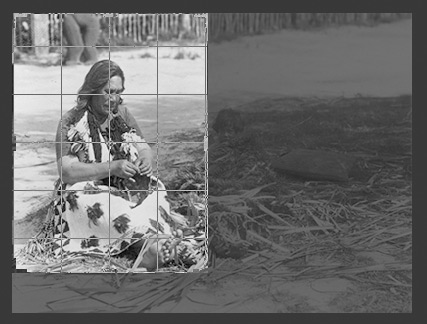
Cropping and resizing
Most common changes made to images are:
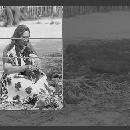
- Resizing: altering the size of the entire image.
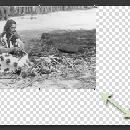
- Cropping: cutting off parts of an image.
NEVER resize an image to make it bigger! This will make the image blurry. Find an alternative, larger image instead.
Click on the images for additional clarification.
|
Resizing an image |
Cropping an image |
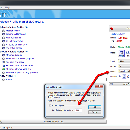
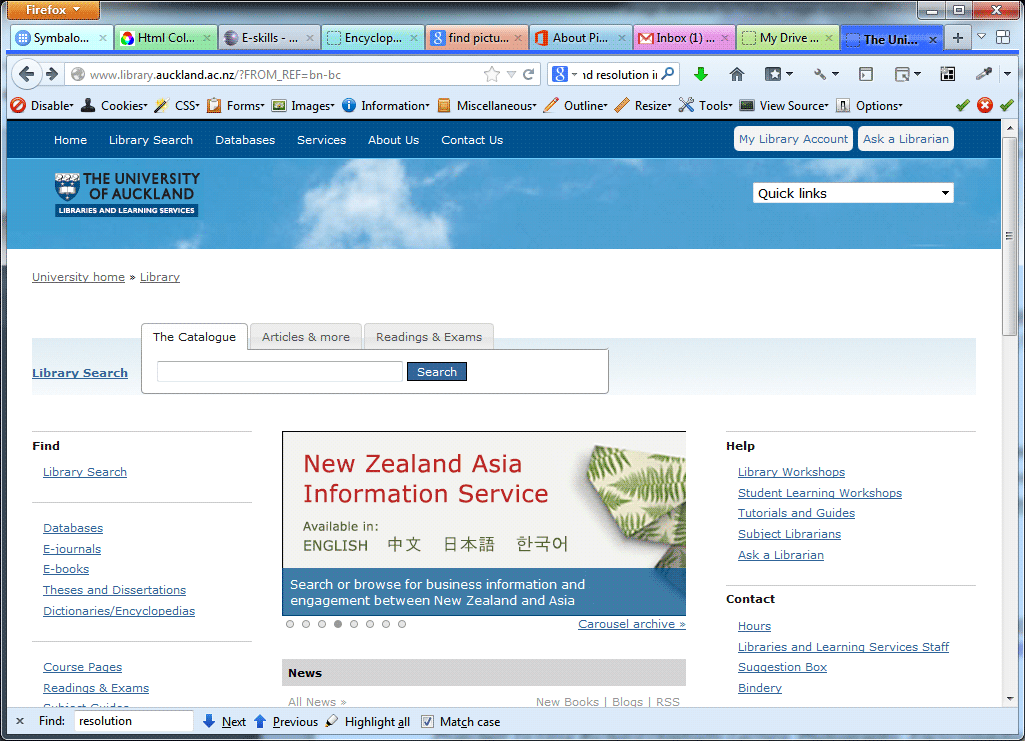
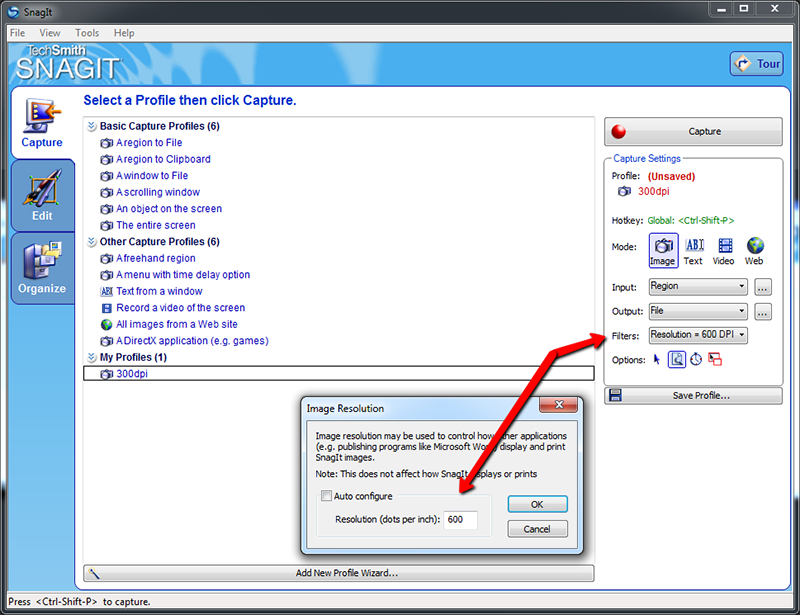
Getting screenshots
We often need screenshots for instructions or presentations.
Common tools
| Tool | Purpose | Advantage | Disadvantage | How to access it |
| Print screen key | Capture whole screen or active window (Alt+PrtScn) | Available on all computers | Cannot edit | PrtScn key |
| Windows Snipping tool | Capture screen, window or section of the screen | Available with Windows | Cannot edit very well | Start > All Programs > Accessories > Snipping Tool |
| SnagIt | Capture screen, window or section of the screen | Can take high resolution screenshots | Screenshot settings not very intuitive | Log a call for Library Systems to install it |
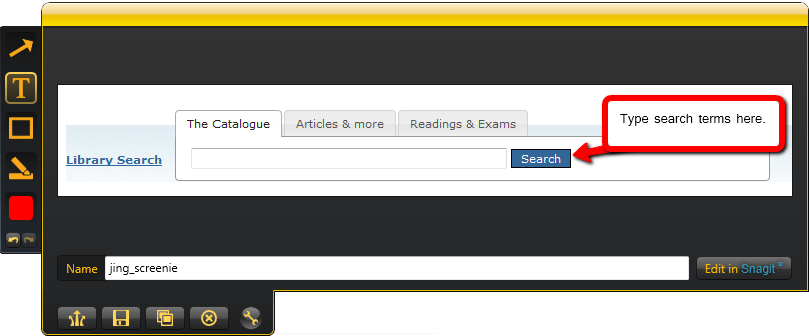
| Jing | Capture screen, window or section of the screen | Can annotate screenshots | No support | Download |
Further help
Sotfware - Installation
| Photoshop | Log a request to install Photoshop with IT Service Desk |
| SnagIt | Log a request to install SnagIt 6 with IT Service Desk |
| Jing | Free download from http://www.techsmith.com/jing.html |
Software - training
Photoshop training: CLeaR (formerly CAD) offers excellent introductory and advanced Photoshop training workshops. Book on Staff IT training workshops > search for 'photoshop'.
Google it! You can learn a great deal from following instructions on the web. Try googling "how to change colour to black and white in photoshop' or 'how to take hi res screenshot with snagit'.
Adobe for Academics: Excellent tutorials on using and basic handling of images. Look at Images and Figures & Illustrations.
Professional printing and advice on marketing and image guidelines
Corporate Services Librarian
Megan Sutton
Ext. 88957
Email: m.sutton@auckland.ac.nz