
|
|
")
|

Present and structure information
 Are you thinking about giving your students access to online and media-rich learning materials?
This section will introduce you to some of the tools and support available to enable you to:
- Create online resources and activities
- Enrich the University's Learning Management System by adding specialised online content
- Present recorded lectures
- Let your students observe techniques and procedures
- Enable your students to hear from an expert
![]()
Quick checks and tips re presenting and structuring information [view/annotate inline]
The way you present information online reflects your teaching approach...
|
CourseBuilder-Healthinformatics |
CourseBuilder-ClinEd 711 |
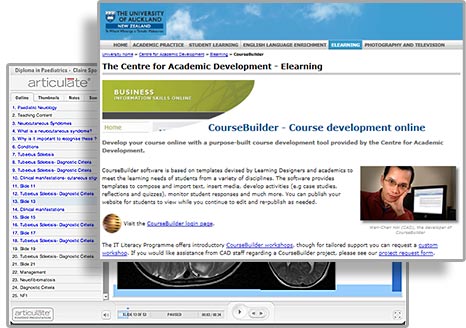
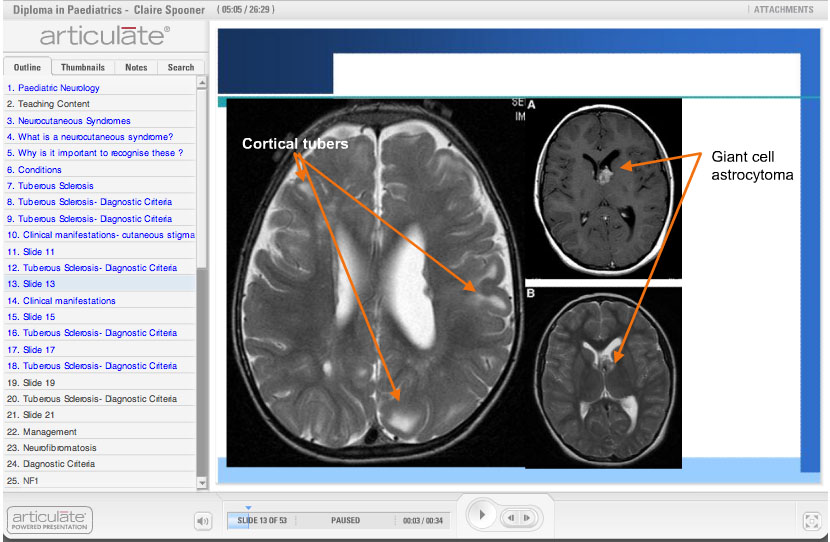
Articulate presenter-Diploma in Paediatrics |
A course in CECIL |
Examples
Using CourseBuilder to create web based resources for online course |
|
|
Jim Warren, Karen Day and Koray Atalag from the School of Population Health needed to create learning materials for two courses as part of the Diploma in Health Science (Health Informatics). Students studying these courses were going to be from New Zealand but also from other countries around the world. To enable easy access by all students the team opted to create fully online resources and used CourseBuilder to build websites for each course (a screenshot from one of the courses can be viewed above). As a starting point they modelled the structure of the courses from an existing course that had already been designed and developed, making a few alterations to suit their specific needs. They used a broad topic structure to guide students through their learning and modules to chunk the information into manageable study sections. Topics and modules focused on guiding students to existing resources and interactions around those such as participating in discussion with each other or completing a variety of interactive tasks. Articulate Presenter was also used to present audio-visual, lecture style information that teaching staff felt was essential to support some topics. |
|
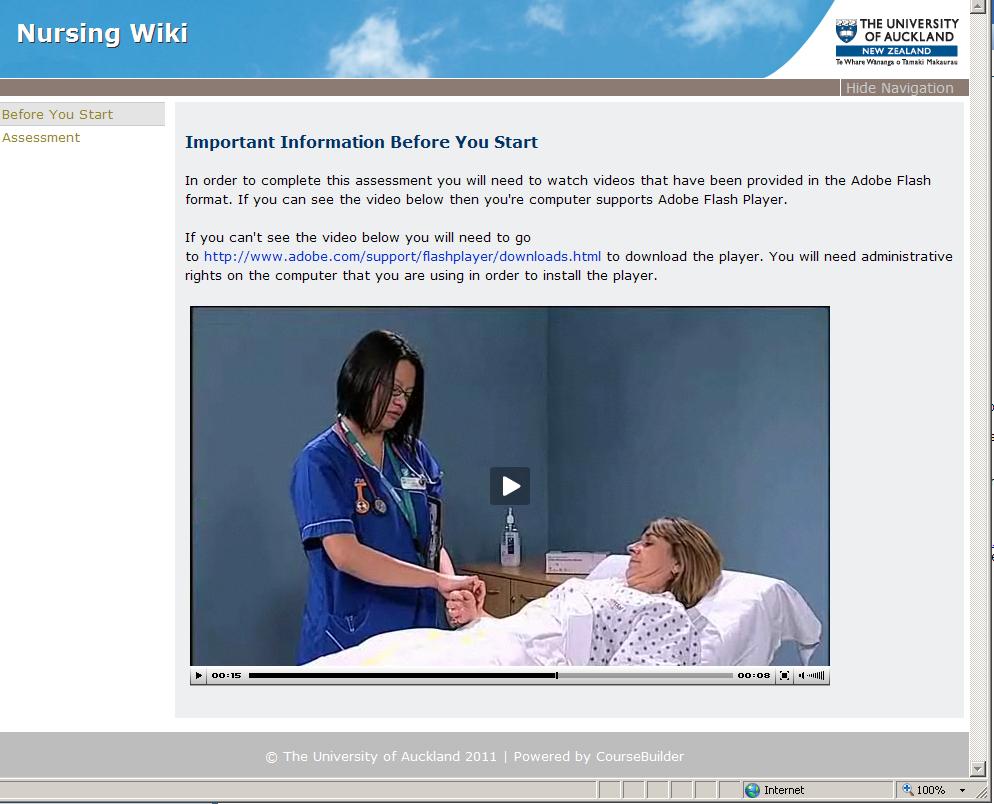
Filming clinical scenarios to teach healthcare terminologyLisa Stewart and Michelle Honey from the School of Nursing wanted to ensure undergraduate students were learning specific healthcare terms in a way that was clinically meaningful and useful. To assess terminology in clinical context a series of scenarios were filmed in the University's film and television studio. Each scenario is very brief, capturing a small slice of clinical practice eg taking a pulse, or blood pressure, or taking a patient history. After each scenario, students are asked to complete multiple choice questions to test their understanding of the related healthcare term as they apply in the clinical context.(The image shows a screenshot of the web page in which the scenario clips are presented - Joanne Wong and Lisa Stewart both staff within the School of Nursing enact pulse taking.) |
|
Video to present physical examination techniques in nursing |
|
|
The teaching team for the postgraduate nursing course 773 Advanced Assessment and Clinical Reasoning wanted to ensure all students were being exposed to the same techniques for carrying out physical examinations (the course attracts approximately 200 students from a number of different locations all around the North Island). With the assistance of the LTU and the University's Media Production team, the teaching staff were able to create clips of the physical examination technique for each selected system (eg cardio vascular, abdominal). Because of internet access issues in the various hospitals, students received the clips on a DVD. The resources mean that staff do not have to repeatedly teach the examination techniques in the face-face teaching sessions, which means they can allocate that time to other important areas of study and it also means the students can play and replay the techniques as many times as they feel they need to become familiar with the procedures. The clips have also been re-used in other courses. |
|
CourseBuilder
What is it?
CourseBuilder software enables you to create rich, customised web resources without having to know anything about HTML.
CourseBuilder provides templates devised by Learning Designers and academics to meet the learning needs of students from a variety of disciplines. The software provides templates to compose and import text, media, activities, eg. case studies, reflections, student journals and quizzes. You can monitor student responses, elicit feedback, view activity and much more.
CourseBuilder pages can enrich the University's Learning Management System by surfacing specialised content within the Canvas enviroment.
What can I do with CourseBuilder?
- structure sequenced, online learning resources
- compose and import text
- insert media (images, videos, sound files, PowerPoint recordings)
- develop activities (e.g case studies, reflections and quizzes)
- monitor student responses and much more
- collaboratively author with another staff member
You can publish your website for students to view while you continue to edit and re-publish as needed.
Web pages developed in Coursebuilder can then easily be inserted into a learning management system such as Canvas or Moodle. For specific instructions on embedding Coursebuilder in Canvas see this Coursebuilder support page.
How can it help my teaching?
One of the great things about CourseBuilder is that you can organize information in a variety of ways. This allows you to present learning resources to students in a carefully sequenced manner, achieving a more narrative flow than is often possible within the constraints of a learning management system.
If you are embedding your course within the frame of Canvas, you might consider suppressing your CourseBuilder banner and side navigation to allow more screen real estate.
|
CourseBuilder also allows you to easily incorporate a variety of media to meet students' different learning styles and to support your teaching strategies. For example, you can include galleries of images, audio and video - and video with pause points for reflection and interaction.
Embedded within Canvas, this can help you create a rich, interactive and engaging learning environment for your students.
You can also create 'stand-alone' resources in CourseBuilder with a variety of access options from 'Public' to 'Enrolled only'.
How do I get started?
Getting started with CourseBuilder is really easy.
- Go to the CourseBuilder login page and create an account if you don't already have one.
- Log in and take a look at the CourseBuilder support pages which provide clear explanations of how to use CourseBuilder.
- Use the CourseBuilder "sandbox" to try out the different functions of CourseBuilder before moving on to create your first course (this will appear in your course list as you login).
What support is available to me?
CourseBuilder is fully supported with online help that is very easy to follow. The Learning Technology Unit run CourseBuilder training with individuals and small groups. Get in touch with the LTU with us to discuss suitable options.
Canvas
What is Canvas?
Canvas is the University of Auckland's Learning Management System and from 2016 all taught courses (PG and UG) in the Faculty of Medical and Health Sciences will be managed through (LMS) Canvas.
Canvas has the full range of tools and applications of a learning management system so can certainly be used to 'present and structure' information - and a lot more.
See the link to details here.
Lecture recording
If you wish to record lectures for students to view and listen to, you have a few options.
One is to capture your lecture 'live' as you deliver it in a lecture theatre - most of the University's lecture theatres are now fitted out with a recording facility that can record the lecturer's voice and whatever is being displayed on the nominated projector.
Alternatively, you can capture your lecture by recording a narration to accompany your presentation slides or material you display on your computer screen, in your own time. These are sometimes called microlectures.
See the information on Lecture Theatre Recording, BB Flashback and Articulate Presenter below.
You can also find information on these lecture recording options on the Staff Intranet.
Lecture Theatre Recording
The University has equipped the electerns in the majority of larger lecture theatres to enable lectures to be recorded.
Lecture recordings are able to capture:
- The lecturer’s voice (if they are using a microphone).
- Whatever is being displayed via the nominated projector in the lecture theatre (eg, PowerPoint presentation, document camera item).
- DVD or CD presentations (video and audio).
Links to recordings are sent to lecturers so they can be reviewed for any content that breaches copyright or privacy, before the lecturer chooses to make the recording available to students. You can view the staff quick start guide (including copyright guidelines), FAQs and other support resources here (staff intranet).
Why might I record my lectures?
Staff use lecture recording in order to:
- provide a revision resource for students. Access figures for recorded lectures show that usage increases in the periods leading up to tests and exams
- support students who can’t come to class e.g. because of family or work commitments, sickness, timetabling clashes, or transport difficulties
- provide an additional learning resource for all students and especially for those with disabilities, learning difficulties, cultural and language differences
- provide the ability to review their lectures to assist their own professional development.
What do students think?
Most students find recorded lectures to be a helpful aid to their learning, rather than as a substitute for attending lectures. For more information on the student perspective, see the student guidelines in the link below.
How can I get started?
Read the staff quick start guide and view the other resources available on the University's lecture theatre recording support page (staff intranet).
BB Flashback
BB Flashback is Windows-based software that enables you to record all or part of your computer screen and whatever you are displaying on it.
You can also record audio from your microphone or computer and video from your webcam, if you wish. The presentation can be produced for viewing online and students can navigate backwards and forwards through it at their own pace.
Can I see an example?
You can see examples of screen capture using BB Flashback in this 'getting started' movie on the BB Flashback website.
How might I use it in my teaching?
BB Flashback can be used to record presentations for blended or distance learning. The software is used widely to:
- present core course information
- enable students to hear from experts
- explain difficult concepts to students that require seeing and listening
- show students how to use or navigate through software or websites
- engage students in learning through building in interactivity and tasks.
The use of recorded presentations can also help to increase the sense of lecturer presence in distance courses. Students can listen to presenters who - we hope - are presenting in an engaging and motivating manner.
Recorded presentations can be exported as files that can be played on students' mobile devices, e.g. smartphones and iPads. This means that students can view the presentations where and when they want.
How do I get started?
The University has a site licence for staff to use BB Flashback. For details see the BB Flashback information page on the staff intranet.
What support is available to me?
BB Flashback maintains support resources in how to use its software. In particular, there is a very simple Quick Start Guide which outlines the basics of:
Contact the Staff Service Centre (SSC) for support.
Articulate Presenter
Articulate Presenter is software that works with PowerPoint and allows you to quickly and easily add recorded narrations to your slides.
You can also add interactions such as quizzes. The complete presentation can be produced for viewing on the Web or CD and students can navigate backwards and forwards through the presentation at their own pace, and repeatedly, if they feel they need to.
Can I see an example?
View a sample here. (Note, these slides and narrations have been taken - out of context - from an original presentation for demonstration purposes only. Thanks to Jane Alsweiler, Diploma in Paediatrics).
How might I use it in my teaching?
Articulate Presenter can be used to record narrations for blended or distance learning. The software is used widely in the Faculty to
- present core course information,
- enable students to hear from experts
- to explain difficult concepts to students that require seeing and listening
- to engage students in learning through building in interactivity and tasks.
The use of recorded narrations also helps to increase the sense of lecturer presence in distance courses. Students can listen to presenters who - we hope - are presenting in an engaging and motivated manner.
Finally, recorded narrations can be exported as sound files that can be played on students mp3 players e.g. iPods. This means that students can listen to the recordings where and when they want to listen.
How do I get started?
The Learning Technology Unit has a number of loan laptops with Articulate Presenter loaded. If you want to make use of this software get in touch with the Learning Technology Unit and we will arrange for you to borrow a laptop.
What support is available to me?
The Learning Technology Unit will support you with Articulate Presenter. You can either come to our offices or we will come to you and show you how to use the software. This usually takes about ten minutes. We can also show you how to publish your presentations and how to upload the presentations so that students can listen to them on the web.
Audio and visual
When should I use audio or visual materials?
This is potentially a very big question but the bottom line is that audio and visual materials should be used when they are going to enhance teaching and improve student learning. For example when:
- you want all students to be exposed to 'best practice' - perhaps a demonstration of a procedure, examination or technique, or use of equipment.
- teaching patient interviewing techniques - demonstrations of "good" and "bad" practice may help students to reflect upon important factors such as tone, manner, facial expression and body language.
- you want to record students taking part in mock interviews and critique their performance (watching many videos may help students to improve their own interviewing techniques).
What do I need to know about audio & visual resources?
Producing audio and video files is a little more complex than creating static content for the web.
It is easy enough these days to use personal devices, digital recorders and cameras. Many of these devices come with their own editing software and you may find you can easily produce your own audio and visual media to a quality and standard with which you are happy.
However, if you are wanting to produce resources of a professional quality, to a high standard, then you should enlist professional help, either through the University (the LTU or University Media Productions) or externally.
What tools can I use to create audio and visual resources?
You can use a whole range of tools to create audio and video files depending on your teaching needs. At a basic level you can use your phone, iPad, computer or a store-purchased digital recorder create audio and video files. The number of audio and video recording products on the market is huge and choice really does come down to defining what it is that you need to do with the device. Quality is a key consideration. As a rule of thumb the more that the device costs, the higher the quality of the audio and video recordings.
Converting video formats
Any Video Converter is a free downloadable tool that can convert almost any video files to any format.
What support is available to me?
The Learning Technology Unit has some expertise with audio and video recording. Get in touch with us in the first instance to talk about your needs. We'll be able to help you to decide about the best device for your needs and we have digital recorders and video cameras that we can loan to you. If you need to do something a little more complex we can point you in the right direction.
The University Media Productions team is available to advise and support all University staff with media development for teaching and learning.

