|
|
CourseBuilder Support www.coursebuilder.auckland.ac.nz |
|
|
")
|

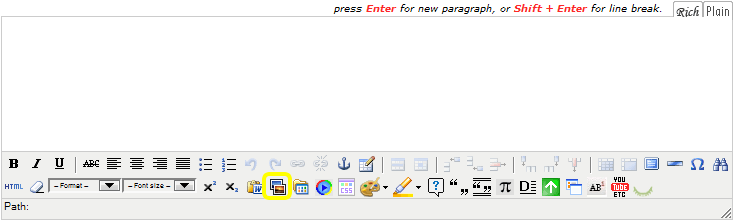
Insert an image
To insert an image, use Insert/edit image ![]() within the Richtext editor.
within the Richtext editor.
There are two main image formats: JPEG (.jpg) for photos and GIF (.gif) for images containing text, line art, or graphics. PNG (.png) may also be used if you have transparency within your image, e.g. shadow effects.
Allowed image format: 'gif', 'jpg', 'jpeg', 'png', 'avif', 'webp'
Over 200 learning design icons to choose from the Icon library.
Position the cursor where you want to insert the image. Note: You can insert images before or after existing text.

In the popup window click Browse... and locate the image file on your local computer. Select it and press Open.
Click Upload to transfer the image to CourseBuilder. It will then appear in the preview window.
Select the Image Alignment to allow text to wrap around the image.
Default style: Drop shadow. Or pick "Round", "Heart", "3D", "Blob" shape to add style to your photo.
Press Save in the popup window to insert the image into the Richtext editor.
![]() Tip: You can upload an image to CourseBuilder's Page Library where it will be accessible on the current page only. To make the image accessible throughout the website, upload it to the Main Library.
Tip: You can upload an image to CourseBuilder's Page Library where it will be accessible on the current page only. To make the image accessible throughout the website, upload it to the Main Library.
You can also edit existing images - select it, then press Insert/edit image ![]()
5 shapes to choose
|
|  |
| Round shape | Heart shape | 3D shape |
| | |
| Blob shape | Stamp |

